


I have more projects than I have time to complete them all. I felt this was a necessary one for the future. I have a feeling that face-masks might be the norm for a while. I was inspired by my father who had one given to him last summer at an outdoor concert advertising Channel 6 News. I thought I could make them and it would be an ideal way to cover your face when you need to and pull it down on your neck or cover your head when you don't. I can't go and get supplies, so I had to make do with what I found around the house.
Supply list include:
Old t-shirt
Acrylic paint and a paper towel tube (optional for artsy-fartsy types)
Scissors
Ruler
Pins & threads
Sewing machine
First I cut an old t-shirt. This one was a Gildan brand t-shirt that my son tie-dyed years ago. It was at the bottom of my t-shirt pile, that's how I knew it was not worn in a long time.

I began by ironing the shirt so it was flat and straight. I measured from the bottom hem up to the arm pits. Mine was about 16". It could be bigger or smaller. Cut a straight line. With the cut piece in front of you, measure over from the left or right sides approx. 10". Draw a vertical line to the one you just cut. Cut and now you are ready to print.

I was not happy about the tie-dyed pattern, so I wanted to create my own. I used a paper towel roll and some acrylic paint. Yes, it works on fabric. Once it drys, heat set with an iron so it remains permanent.

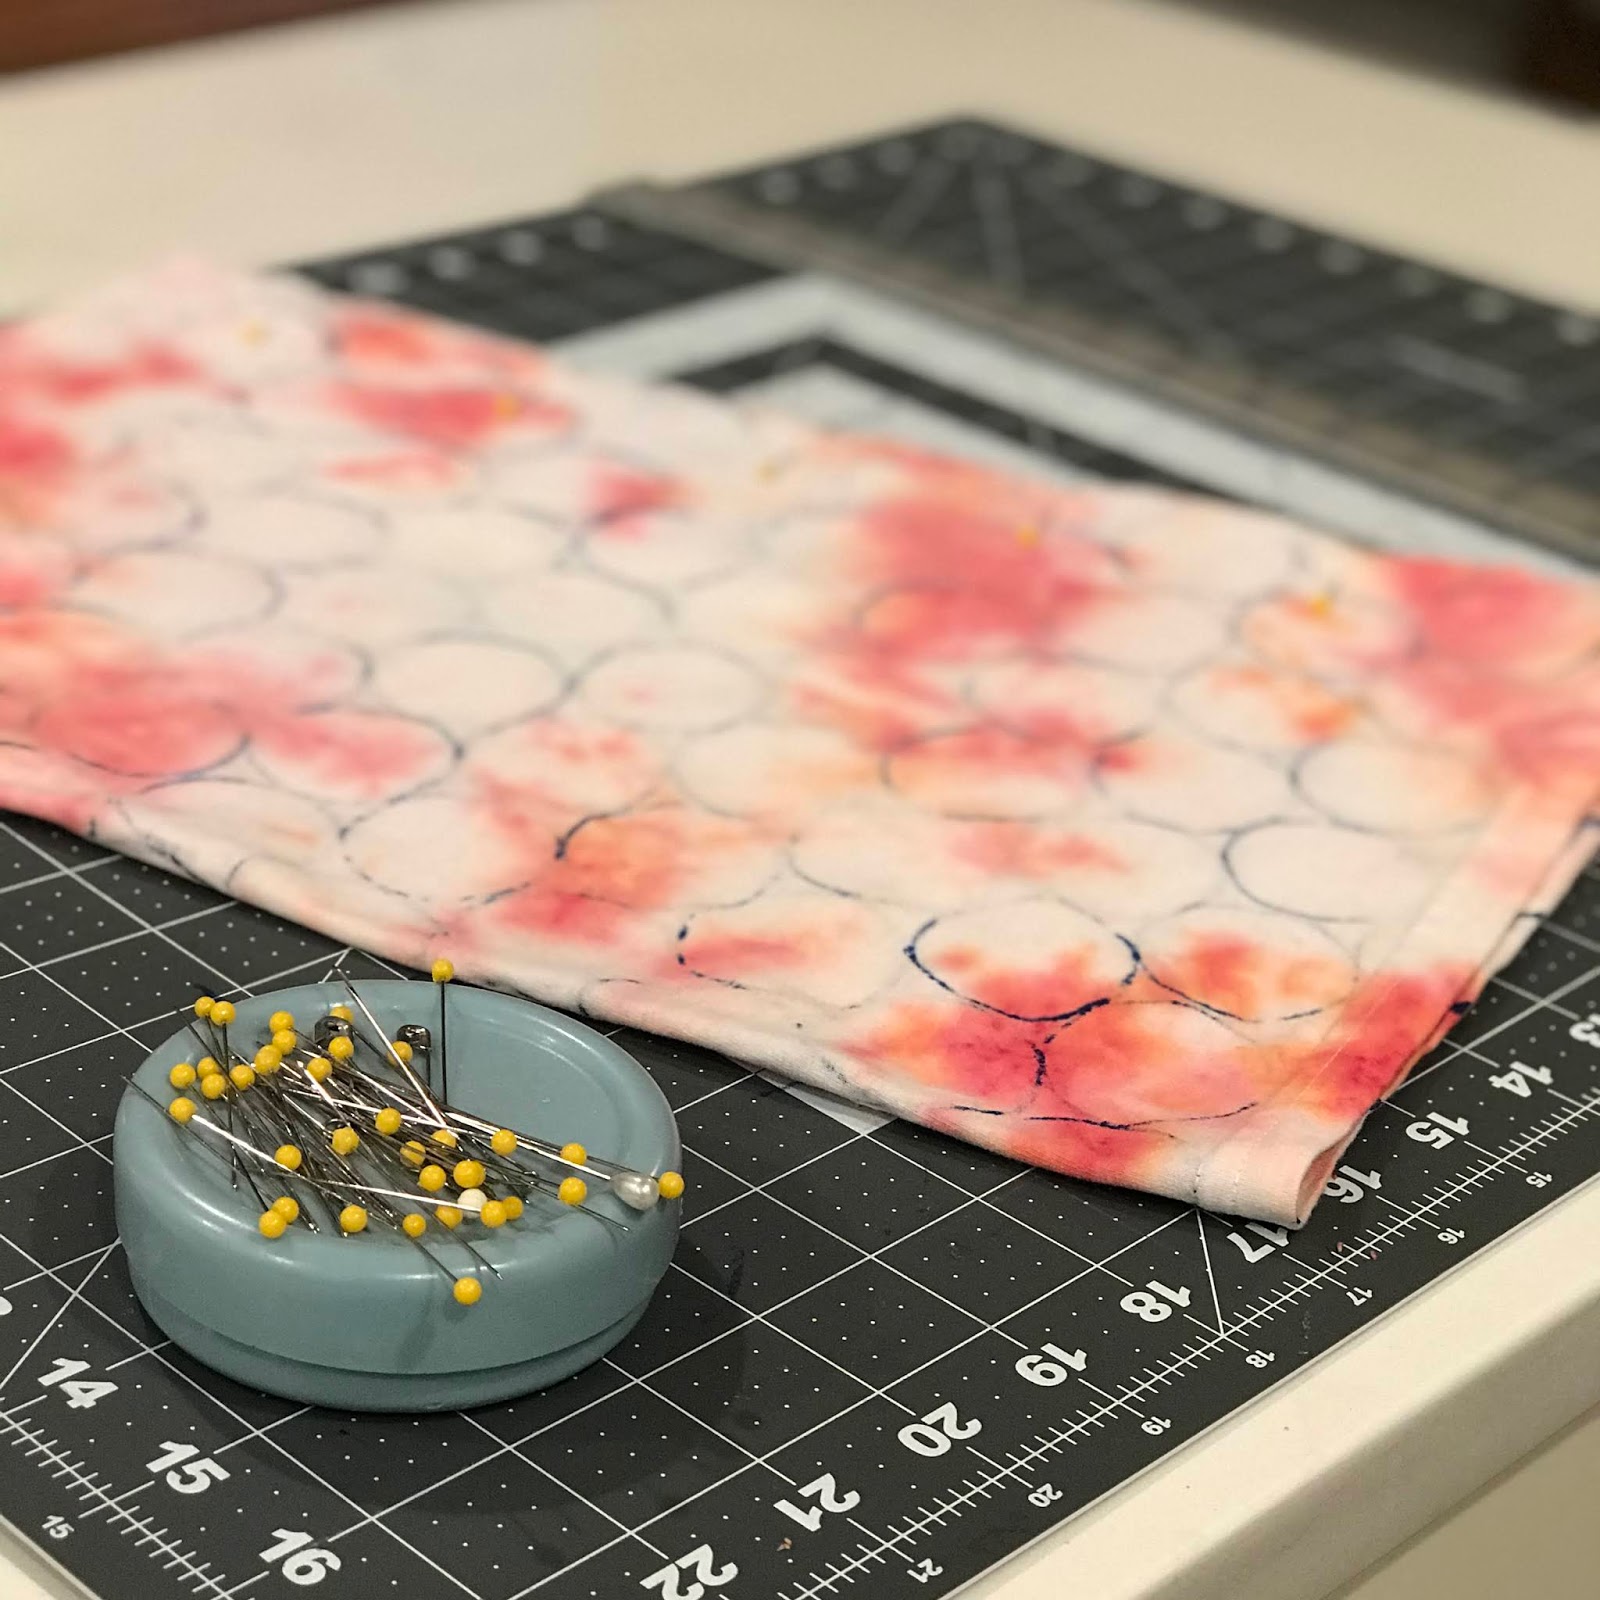
Open the fabric right side up so it's 16" x 20". I started printing at the hem because it is a straight reference point. Begin by dipping your tube into the paint and onto the t-shirt material. You could be random if you like. I choose to connect my circles.

It is pretty simple. They don't have to be perfect. Let the paint dry and iron to heat set. Now you have a totally original print.
Next you need to fold and pin right sides together so the wrong side are out. Pin the 16" edge. I used a zig-zag stitch along that edge. I feel that stitch works best with stretchy fabrics.
At this point you could be done. It does not need to be hemmed because the fabric does not unravel. Just give it a little tug along that 10" unfinished side and it will roll a little and look fine.
I wanted to hem mine. I used a pink thread to pick up the tie-dyed color. I folded down the hem about a half an inch and used a zig-zag stitch along that edge.


I am making one for myself so I can wear this to cover my head instead of a hat. I will cut down he size to be 16" x 19" to fit a little tighter over my face.
If you like this project, visit my web-site for a tutorial on this and many other projects.
Stay safe,
Stacy


No comments